Using the Unity3D Editor
Making Your Own Virtual Environment
You can build your own virtual environment based on the FlightGoggles Renderer source code and the FlightGoggles asset bundle. The Renderer source code is available on GitHub. We provide two Unity3D asset bundles:
The Abandoned Warehouse environment asset bundle can be downloaded from here (9.4GB download).
The Stata Center environment asset bundle can be downloaded from here (X.XGB download).

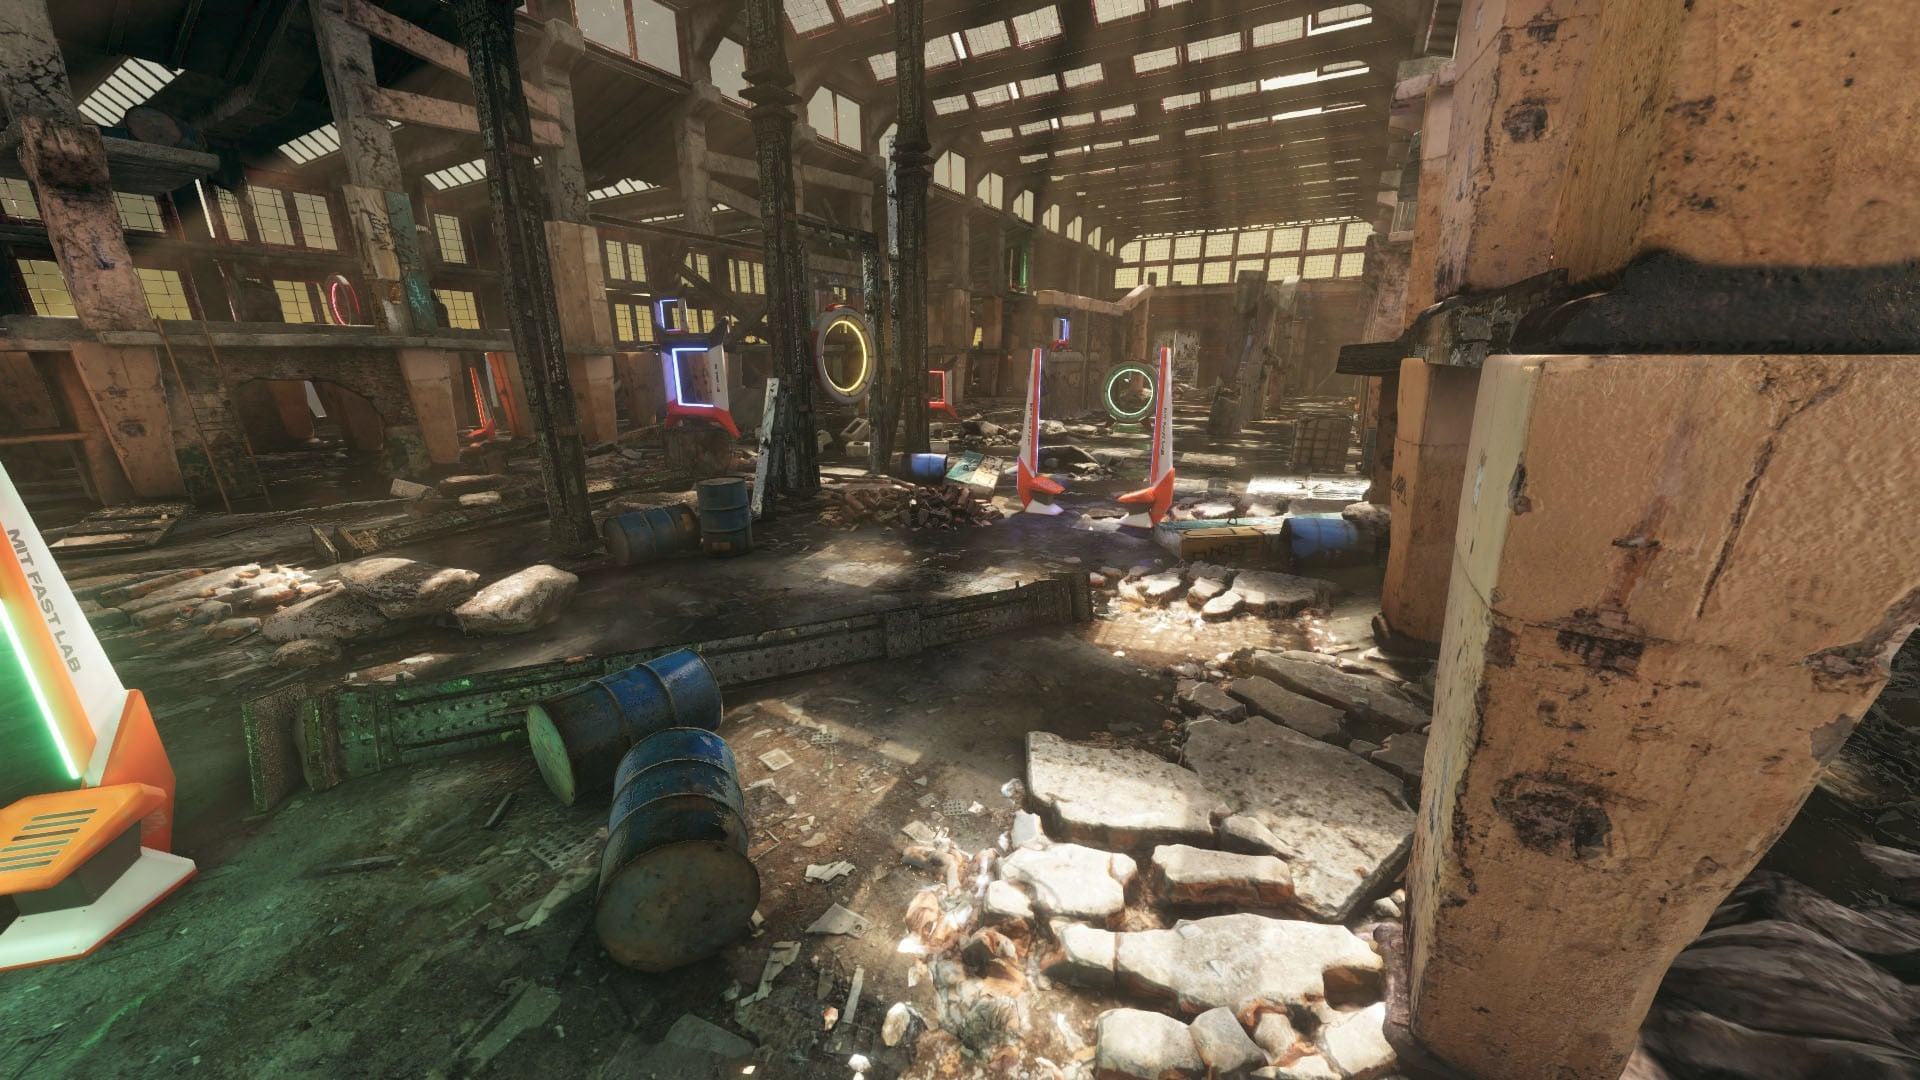
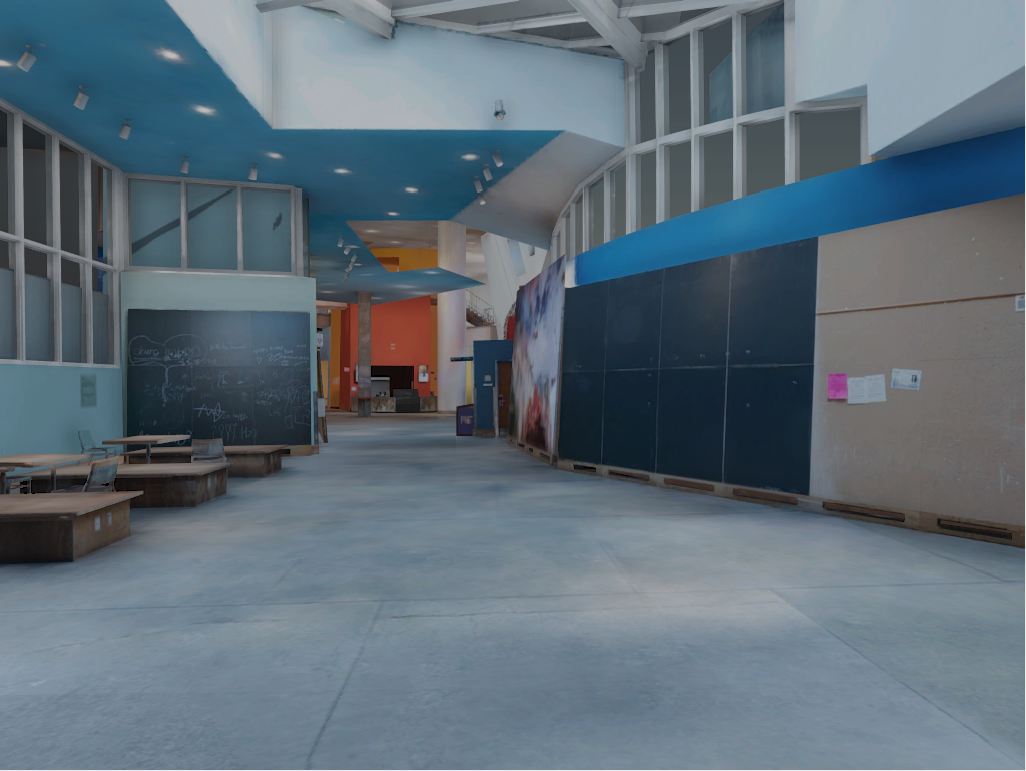
Renders of Abandoned Warehouse environment (above), and Stata Center environment (right).

To import the environmental assets in the Unity3D editor, we recommend creating a new High Definition Render Pipeline project with Unity3D version 2018.3.14f1 using the "Creating an HDRP Project" section of this Unity3D guide. Once the project has been created, you can import the environment assets by dragging the .unitypackage file into the editor.
Building the FlightGoggles Renderer Executable
For optimal rendering performance, we recommend building a Renderer executable when you are ready to use your newly created or edited environment with FlightGoggles.
Clone the FlightGoggles Renderer source code into the your_project/Assets folder in your newly created project. Then copy your_project/Assets/FlightGogglesRenderer/ProjectSettings to your_project/ProjectSettings.
In the Unity3D Editor, import burst package from Window -> Package Manager tab, and import JSON .NET Asset from Window -> Asset Store.
Rendering directly from the Unity3D Editor
Instead of building a new FlightGoggles Renderer executable, you can also render directly from the Unity3D editor. This will result in somewhat degraded rendering performance (e.g. lower maximum frame rate), but can be useful to quickly test a new environment.
First, make sure you have cloned the FlightGoggles Renderer source code and copied the project settings, as described in the build steps. To run the FlightGoggles Renderer from the viewer, navigate to your_project/Assets/FlightGogglesRenderer/FlightGoggles/Scenes/Top_Level_Scene.unity and press "Play" in the Unity3D editor. Make sure that the resolution settings in the upper-left corner of the game-window match the camera resolution settings defined in the FlightGoggles Client.

Once FlightGoggles is running in the Unity3D editor, you can follow the directions for external_renderers in the FlightGoggles Client documentation as if you are running the regular FlightGoggles Renderer.